
Henna Instructions
Step 1
Cleanse
Moisturize the day before exfoliate gently with a damp cloth before application for optimal results. Do not apply henna on irritated skin though if you accidentally exfoliated too much. Wait till your skin is back to calm. Use soap that doesn't contain moisturizers to cleanse your skin of all oils or moisturizers. Any oil will create a barrier between your skin and the henna so this step is crucial.
Step 2
Apply
Make sure cone is fully defrosted. A slightly warm cone will give you optimal results. Snip about two millimeters off of the tip of your henna cone. If it's difficult to squeeze out or curling instead of draping (if you like to drape lines) snip a tiny bit more off at a time. Thicker lines will be darker. When you’re finished seal the tip by folding tape over it. Always store in the in the freezer when not in use.
Step 3
Wait
Once the henna is completely dry you can spray or gently dab a mixture of water and sugar or lemon juice and sugar to rehydrate and seal the henna on. Alternatively you can cover it with MeFix tape. If you skip this step it will flake off pretty quickly. Leave the paste on for up to 8 hours. Longer means bolder color.
Step 4
Remove & Care
Gently flake off the henna and remove the leftover henna with oil on a cotton pad. If you used MeFix tape you might need to add some oil to it to loosen the glue. The stain will start out faint or bright orange and deepen to a light to dark brown over the next 2 days. Keep your stain dry for the next 24 hours. Apply oil or balm before water exposure.
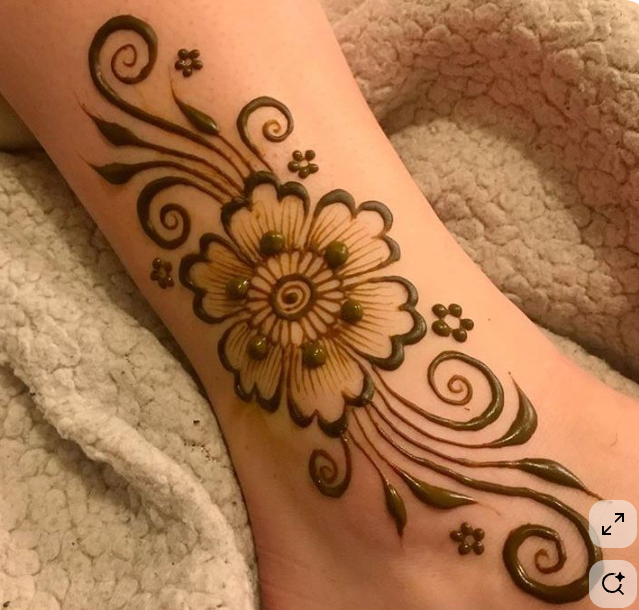
Inspiration


Care
beauty that reflects your spirit
Add paragraph text. Click “Edit Text” to update the font, size and more. To change and reuse text themes, go to Site Styles.
Follow Us on Instagram
#onsko_beauty


